Article
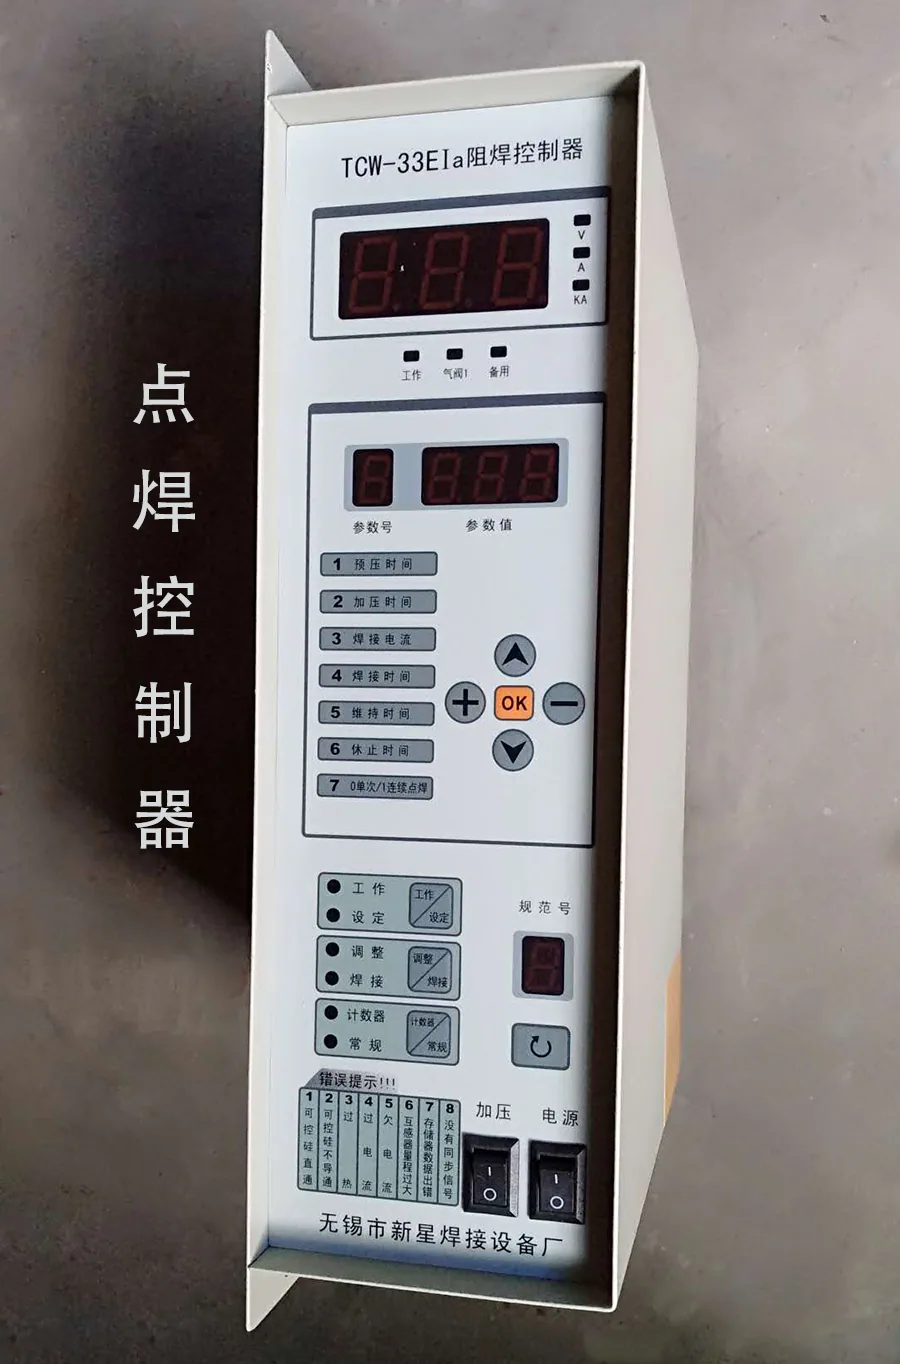
1. Turn on the "power switch" on the lower right side of the controller, and the light in the display window will turn on.
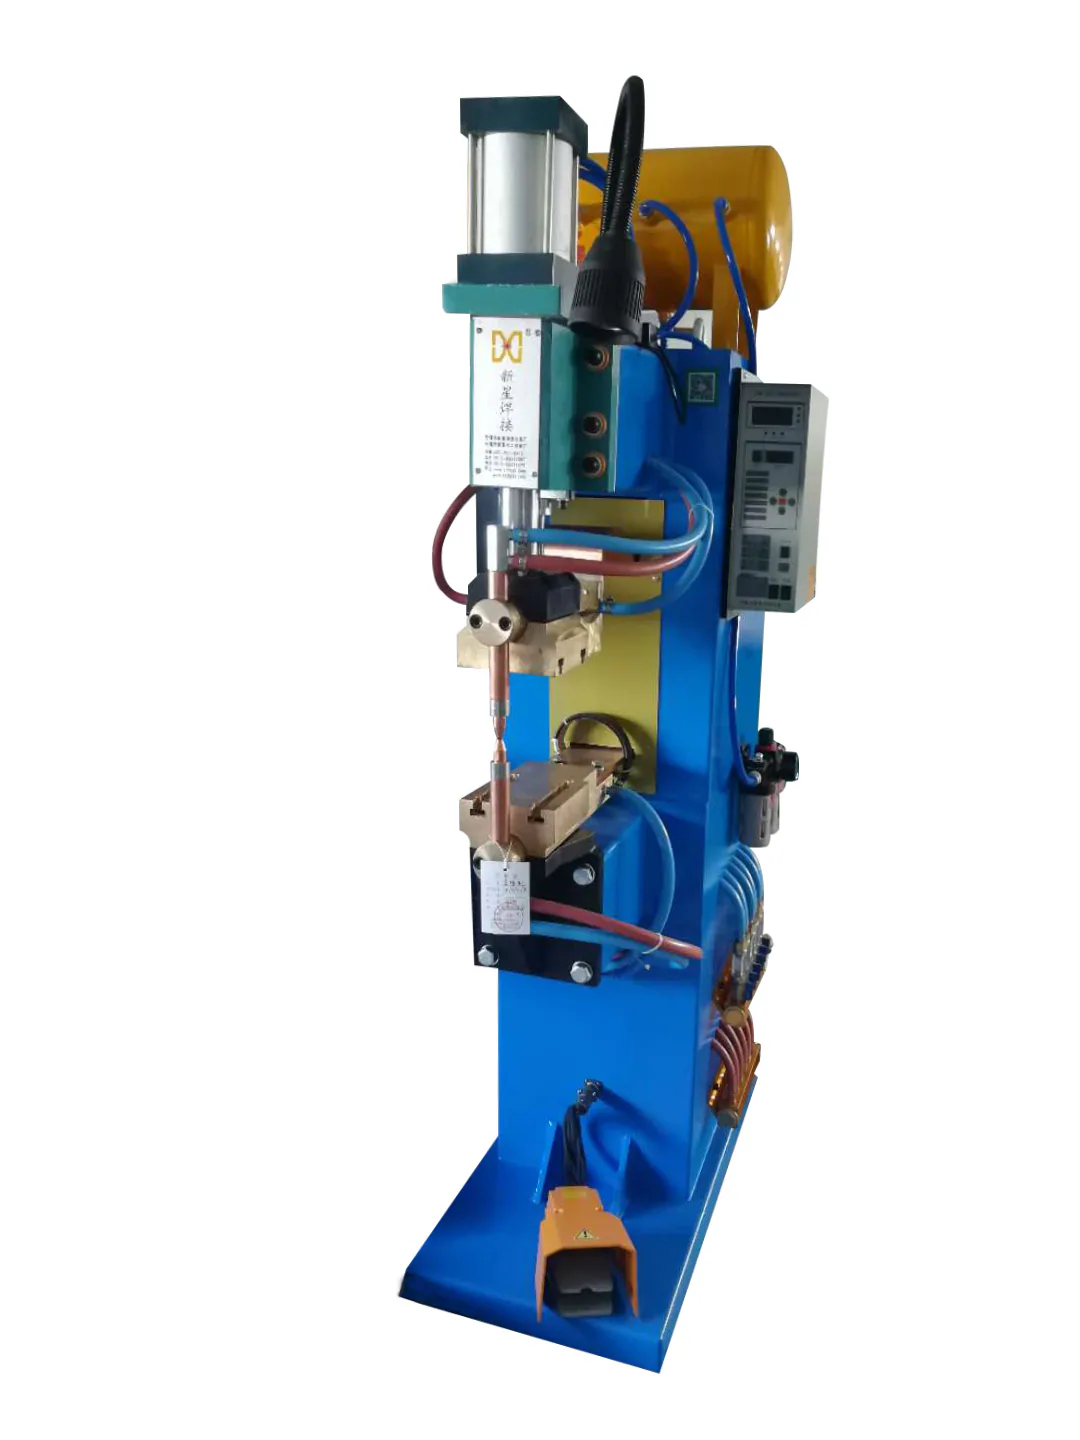
7. Trial welding: Press the "work setting button" again to switch to setting, press the "welding, adjustment" switch to the "welding" position, and press the work setting button again to switch back to work. Place the workpiece to be welded between the electrodes, step on the foot switch, and the cylinder will press down on the workpiece to generate a welding current. After a period of time, the cylinder will lift up, and one welding session will be completed. After one welding, the pressure, welding time and welding current can be adjusted according to the condition of the solder joint. Sometimes it is necessary to adjust repeatedly until a satisfactory solder joint is obtained.